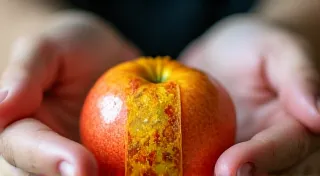
DIY Beeswax Wraps: A Sustainable Alternative to Plastic Wrap
Plastic wrap. We all use it. It’s convenient, yes, but it’s also a major contributor to plastic waste. But what if there was a simple, beautiful, and reusable solution? Enter: Beeswax wraps! Making your own beeswax wraps is surprisingly easy and a fantastic way to embrace sustainable living. This guide will walk you through the process step-by-step.
Why Beeswax Wraps?
Beyond reducing your plastic consumption, beeswax wraps offer several benefits:
- Reusable: With proper care, they can last for months, even years!
- Natural & Safe: Made from natural ingredients – beeswax, tree resin, and jojoba oil – they's safe for food contact.
- Breathable: Allow food to breathe, keeping it fresher longer than plastic wrap.
- Beautiful: You can customize them with your favorite fabrics!
What You'll Need
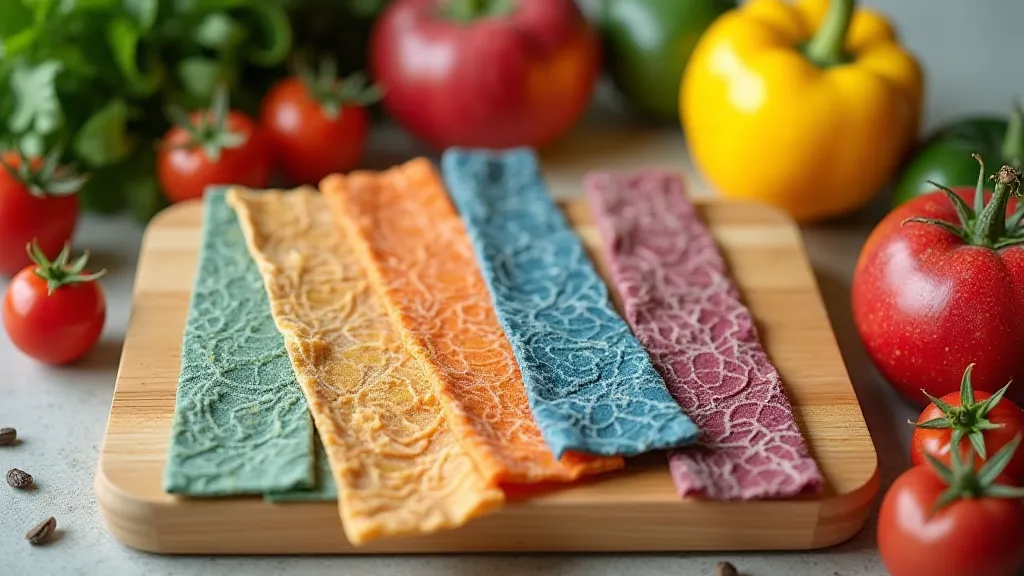
- Cotton Fabric: Organic cotton is a great choice. Look for tightly woven fabrics like quilting cotton. (About 12” x 12” per wrap is a good size.)
- Beeswax: You can buy beeswax pellets or blocks.
- Tree Resin (Pine Resin): Essential for stickiness and pliability. A little goes a long way.
- Jojoba Oil: Helps keep the wraps pliable and prevents them from becoming brittle.
- Double Boiler or Heat-Safe Bowl and Saucepan: For melting the ingredients.
- Parchment Paper: To protect your work surface and prevent sticking.
- Iron (Optional): Can help spread the mixture evenly.

Step-by-Step Instructions
- Prepare Your Work Area: Cover your work surface with parchment paper.
- Melt the Ingredients: In a double boiler (or a heat-safe bowl set over a simmering pot of water), combine approximately 1/4 cup beeswax, 1 tablespoon tree resin, and 1 tablespoon jojoba oil. Stir constantly until completely melted and smooth. (Adjust amounts based on the size of your fabric pieces. A good ratio is roughly 1:1:1 for beeswax, resin and oil.)
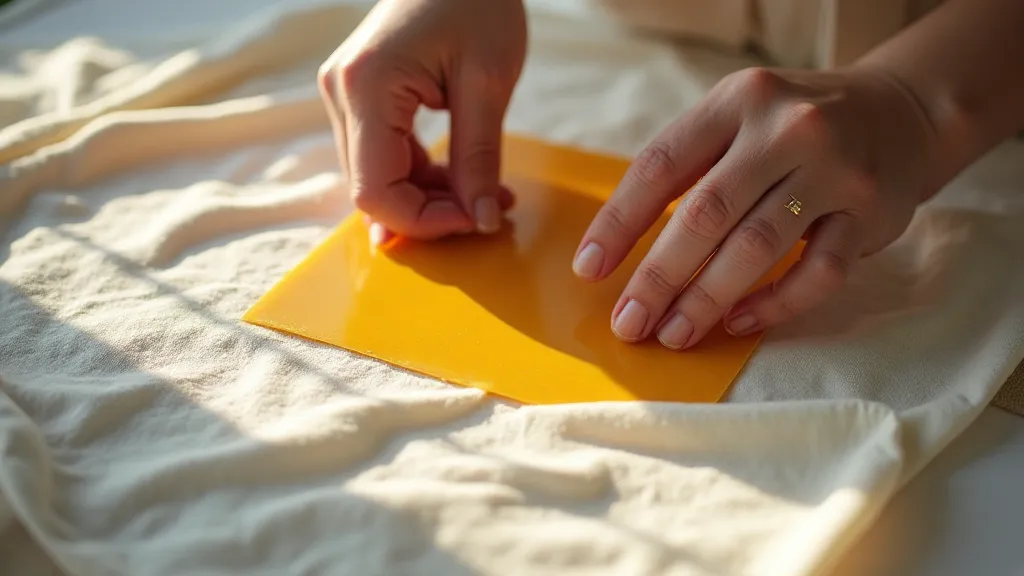
- Apply the Mixture: Lay your cotton fabric piece on the parchment paper. Pour the melted mixture evenly over the fabric, using a brush or spoon.
- Spread the Mixture: Using a pastry brush or spatula, spread the mixture evenly over the entire fabric surface. An iron (on a low setting, with parchment paper on top) can help spread the mixture quickly and evenly.
- Cure the Wraps: Carefully lift the fabric and place another sheet of parchment paper on top. Allow the wraps to dry completely – typically 15-30 minutes.
- Repeat: Repeat steps 2-5 for each fabric piece you want to make into a beeswax wrap.
Care & Cleaning
To keep your beeswax wraps in good condition:
- Wash: Use cool water and mild soap. Avoid hot water, as it will melt the beeswax.
- Dry: Air dry them completely.
- Re-wax: After several washes, the wraps may lose some of their stickiness. You can re-wax them by repeating the waxing process.
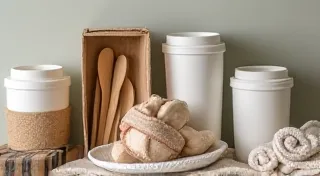
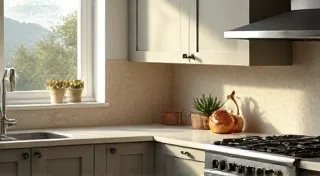
Embrace Sustainable Living!
Making your own beeswax wraps is a small but significant step towards a more sustainable lifestyle. It’s a fun project, it reduces waste, and you end up with beautiful, functional alternatives to plastic wrap. Give it a try and experience the satisfaction of creating something useful and eco-friendly!